
Introduction & Purpose
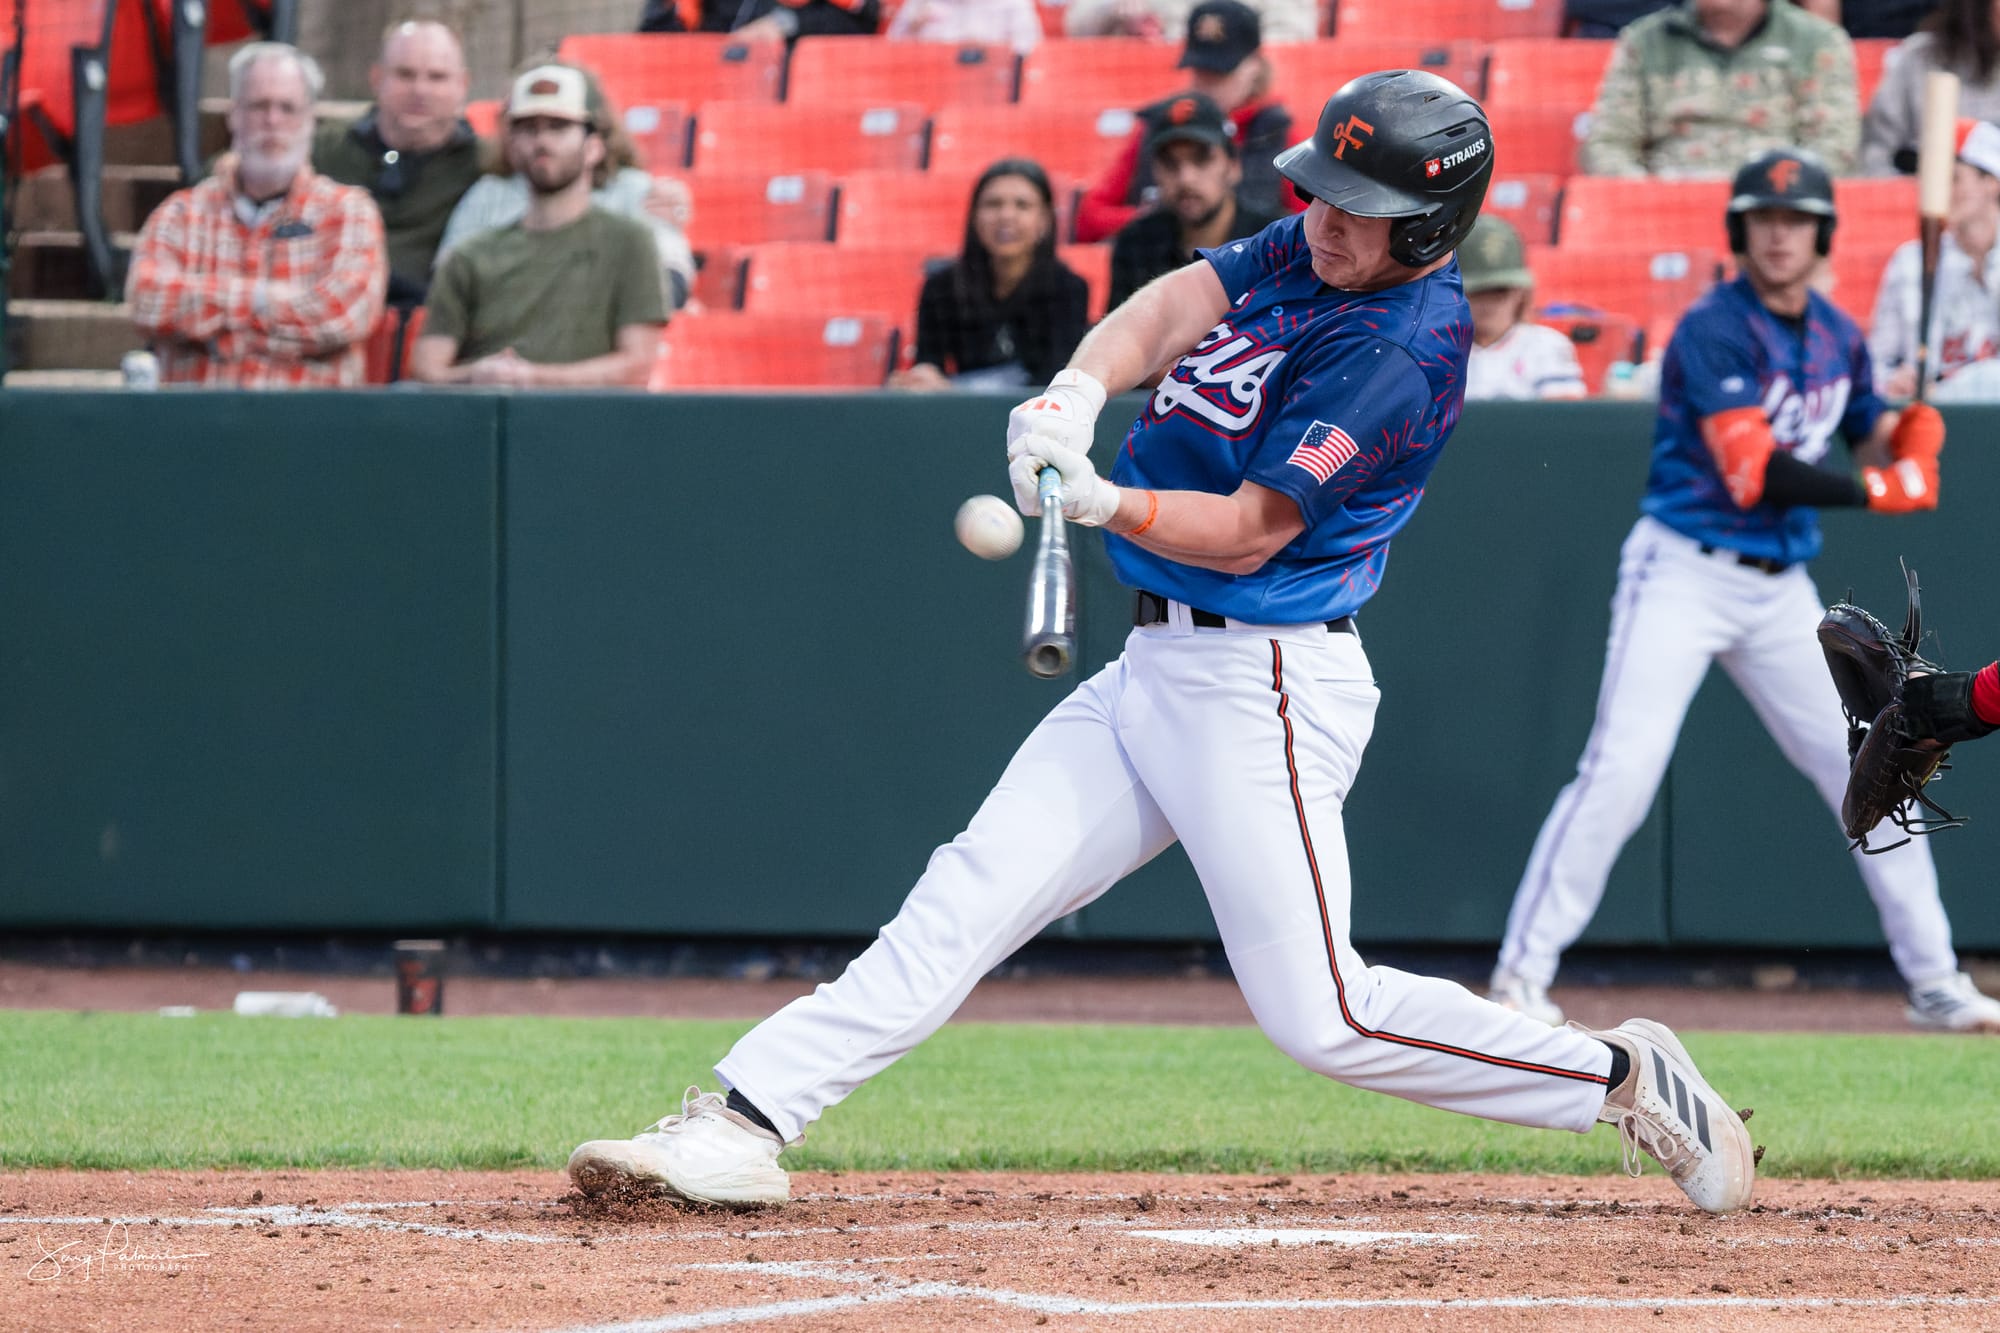
Baseball is the sport that separates photographers who understand timing from photographers who are simply pointing a camera at motion. Unlike sports built on continuous flow, baseball hands you long stretches of stillness punctuated by moments that last a fraction of a second. If you’re not anticipating the play before it happens, you’re already too late to capture it. This lesson walks through the technical and strategic foundation needed to shoot baseball consistently well, from camera configuration to field positioning to the game-reading instincts that separate a usable frame from a missed one.
Prerequisites & Tools
Before heading out to a diamond, you’ll want the following in your kit:
- A body capable of reliable continuous autofocus with subject tracking
- A telephoto prime in the 400mm to 600mm range for reach from outfield or elevated positions
- A 70-200mm f2.8 for infield work and baseline positions
- A secondary body with a shorter zoom, such as a 24-70mm, for environmental context shots
- Familiarity with back-button focus, if you prefer, on your camera body
- Basic working knowledge of baseball strategy: counts, base-running situations, defensive shifts
That last item matters more than most photographers expect walking in. You cannot out-gear a lack of game knowledge.
Core Lesson & Step-by-Step Breakdown
Step One: Understand the Rhythm
Baseball does not move like soccer or basketball. Most of the game is players resetting between pitches. The photographer’s job during that dead time is not to relax. It’s to read the situation and predict what’s coming. A runner on first with a weak-hitting batter at the plate and two strikes tells you a steal attempt is live. A bunt situation early in an inning with a runner on first tells you to watch the third baseman creep in. You’re not reacting to the ball. You’re positioning your focus point on the spot where the next consequential action is most likely to happen.
Step Two: Configure for Daylight
For most daytime games, start here:
- Shutter: 1/1600 to freeze bat speed and infield throws
- Aperture: f2.8 to f4, wide enough to isolate the subject but with enough depth to hold focus through minor tracking error
- ISO: 100 to 400, as low as the light allows
Step Three: Configure for Night Games
Stadium lighting forces compromises. A reasonable starting point:
- Shutter: 1/1000 minimum, the floor for freezing a swing or a throw
- Aperture: f2.8 or the widest your lens allows
- ISO: 1600 to 6400 depending on the quality of the stadium lighting rig
Step Four: Set Up Back-Button Focus
This is not optional for baseball. Separating focus activation from the shutter release lets you hold tracking on a runner or fielder without the shutter interrupting the autofocus system every time you fire. Set your AF-C tracking to a single, deliberate button press, and leave your shutter release to do nothing but fire.
Step Five: Choose Your Lens for the Play You’re Anticipating
Reach for the pitcher-batter exchange. Shorter glass for infield action and baseline plays. Keep the second body with your 24-70mm within reach for the wide shots that give a gallery context: the crowd, the dugout, the scoreboard.
Real-World Demonstrations & Examples
Picture this: runner on second, one out, ground ball hit to short. You’ve pre-focused on the bag at first, because that’s where the play is going to end. You don’t chase the ball with your lens. You wait for the throw to arrive in the frame you’ve already composed.
Now picture a full count with a runner on first. The batter is a contact hitter, the defense is holding at double-play depth. You split your attention between the plate for contact and second base for a potential steal, but your primary focus stays on the batter, because the highest-probability outcome is still a swing.
Common Pitfalls & Troubleshooting
Chasing the ball instead of the base. New shooters often try to track the baseball itself through the air. The ball is small, fast, and unpredictable. Track the players and anticipate where the ball is going to end up instead.
Shooting wide open in daylight. An aperture of f1.8 in full sun will blow through your shutter ceiling or force an unusably low ISO compensation. Stop down to f2.8 or f4 for daylight games and reserve your widest apertures for low-light night coverage.
Missing the release point. If your shutter speed drops below 1/1000, you will lose crispness on the pitch and the swing. Do not compromise below that floor for action frames, even if it means raising ISO.
Standing in an unsafe or blocked position. Positions along the baseline or behind the plate without adequate netting protection put you at risk from foul balls and put you in the sightline of umpires and coaches. Confirm your position before the first pitch, not during live play.
Best Practices & Pro Tips
Organize your mental checklist by count and situation, not by inning. The count tells you more about what’s about to happen than the scoreboard does. A 3-1 count with a runner in scoring position is a different anticipation setup than a 0-2 count with the bases empty.
Keep your second body active and ready, not stowed in a bag. The context shots, the dugout reactions, the crowd energy, these round out a gallery and often get more use in marketing and client delivery than the action frames themselves.
Review your keeper rate by situation type after each game. If you’re consistently missing steal attempts or bunt plays, that’s a signal to adjust your pre-focus habits, not your gear.
Closing Summary
Baseball rewards the photographer who reads the game rather than the one who reacts to it. Solid technical configuration, shutter speeds fast enough to freeze the action, apertures balanced for both depth and light, and a disciplined back-button focus habit, gives you the technical foundation. But it’s the anticipation, knowing where the play is going before it happens, that turns a technically correct frame into a genuinely strong one. Master the rhythm of the game first. The camera settings are the easy part.